Download & Install DD Digital App
1. Download DD Digital App from Play Store or Just Scan QR to Download App
2. Sign In with your registered mobile number.

Follow these steps to complete device setup.
1. Download DD Digital App from Play Store or Just Scan QR to Download App
2. Sign In with your registered mobile number.
1. Download DD Digital App from Play Store or Just Scan QR to Download App
2. Sign In with your registered mobile number.
1. Connect Device to the power source.
2. Connect LAN Cable.
3. Turn On switch provided at the top right corner of device.
1. Connect Device to the power source.
2. Connect LAN Cable.
3. Turn On switch provided at the top right corner of device.
1. Enter Your Pin by default which is last 4 digits of your registered mobile number.
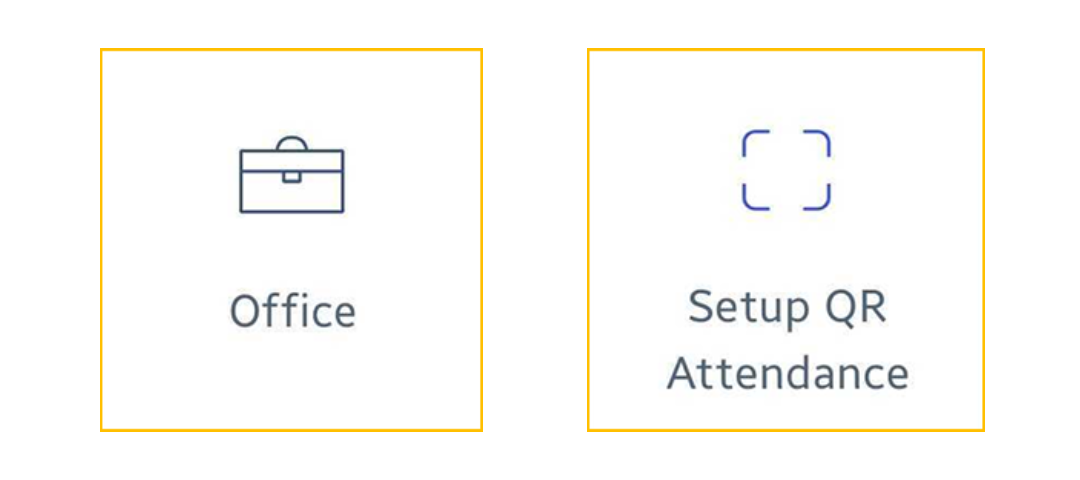
2. Open Office Module.
3. Open Setup QR Attendance.
1. Enter Your Pin by default which is last 4 digits of your registered mobile number.
2. Open Office Module.
3. Open Setup QR Attendance.
Bluetooth, Location, and Notifications
1. Turn On Bluetooth in mobile.
2. Grant scan near by devices permission.
3. Grant location permission.
Bluetooth, Location, and Notifications
1. Turn On Bluetooth in mobile.
2. Grant scan near by devices permission.
3. Grant location permission.
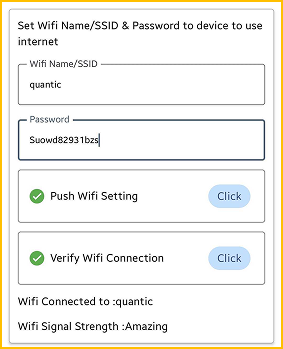
1. Set Wi-Fi Name and Password.
2. Click Push “Wifi To Device”
3. To Verify Is connected to wifi Tap on “Verify Wifi Connection”
4. Restart the device.
1. Set Wi-Fi Name and Password.
2. Click Push “Wifi To Device”
3. To Verify Is connected to wifi Tap on “Verify Wifi Connection”
4. Restart the device.

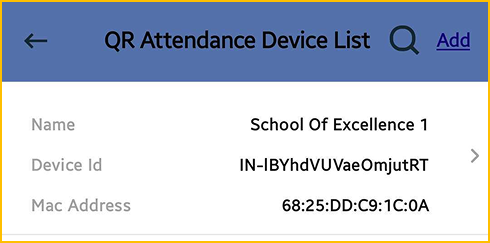
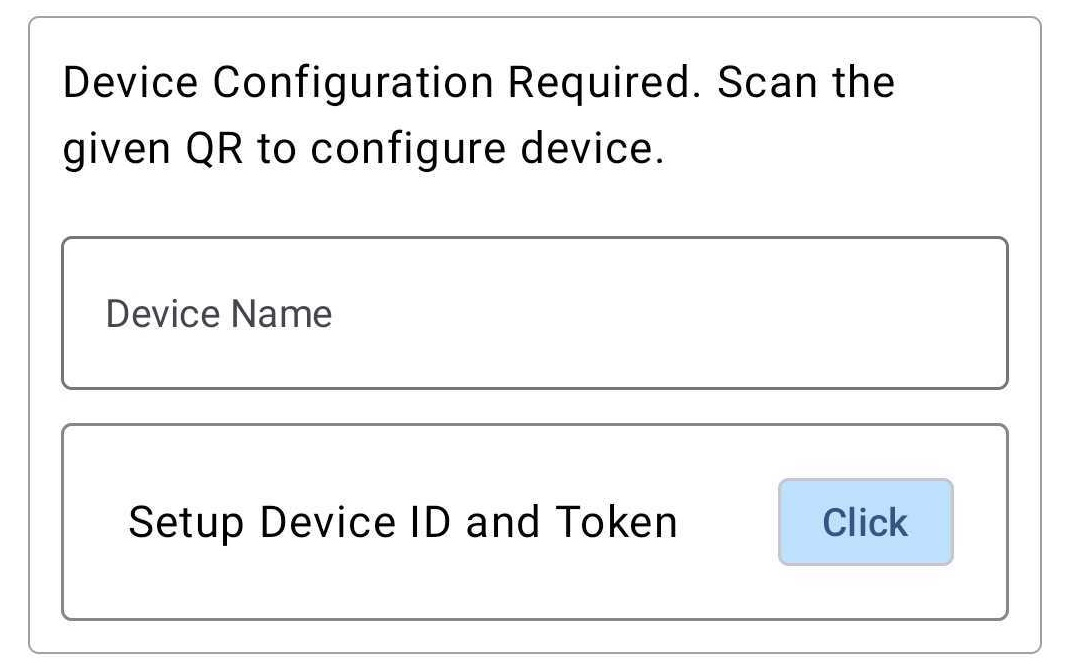
To link device with branch:
1. Click on "Setup Device ID and Token"
2. Scan the QR Code with Branch ID
3. After successful linking, verify the brId by clicking "Read Device Details"
To link device with branch:
1. Click on "Setup Device ID and Token"
2. Scan the QR Code with Branch ID
3. After successful linking, verify the brId by clicking "Read Device Details"
